Introduction
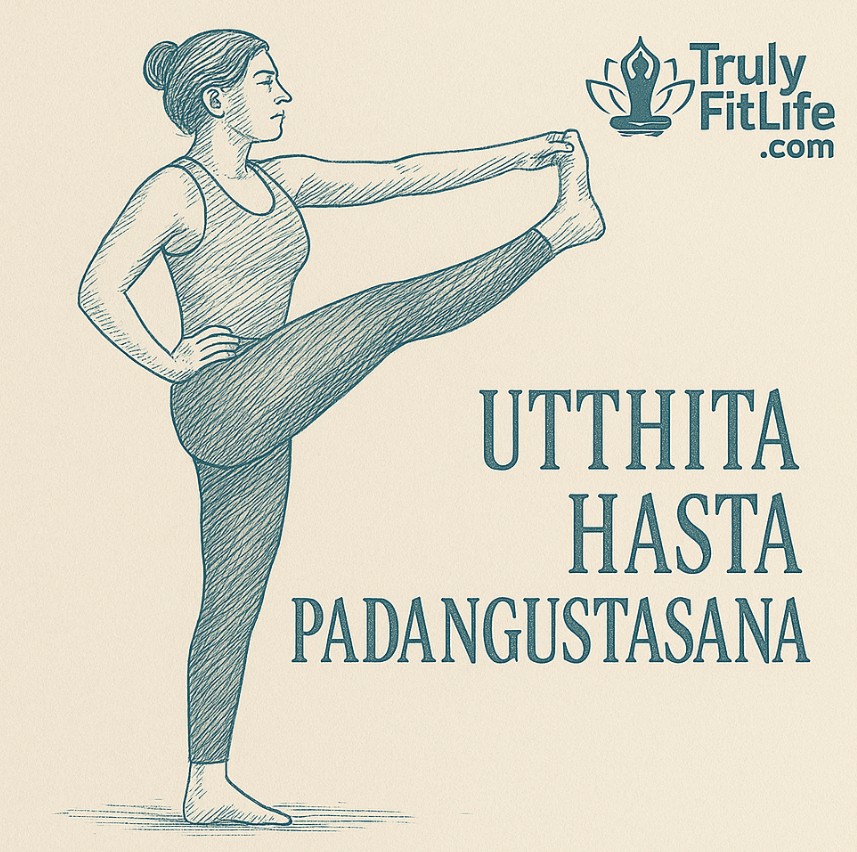
Utthita Hasta Padangusthasana (Extended Hand-to-Big-Toe Pose) is a classical standing balance that challenges focus, ankle stability, and hamstring flexibility. “Utthita” means extended, “hasta” hand, “padangustha” big toe. Practitioners balance on one leg while extending the opposite leg forward (or sideways), holding the big toe. The pose trains patient concentration (dharana), precise alignment, and calm breath—skills that translate to all standing sequences.
This asana is typically taught at an intermediate level: not because of strength demands, but due to the coordination and mobility required in the ankles, hips, and hamstrings while maintaining a steady gaze and quiet breath.
Step-by-Step Instructions
- Set the Base
- Begin in Tadasana (Mountain). Root all four corners of the standing foot. Lift kneecap gently to activate quadriceps; lengthen through crown.
- Catch the Toe
- Shift weight to the right foot. Bring the left knee toward the chest.
- Hold the left big toe with the left index and middle fingers (Padangustha grip). If the grip strains you, loop a strap around the foot.
- Extend
- On an inhale, extend the left heel forward to straighten the knee (as much as mobility allows). Keep both hips level and square to the front.
- Find the Line
- Draw the front ribs in, spine tall, shoulders relaxed. Right hand can rest on right hip for stability.
- Breathe & Balance
- Take 5–8 slow breaths. Maintain a steady drishti at eye level. Keep the standing leg strong but not locked.
- Optional Side Opening (B)
- Gently take the extended leg out to the side while keeping the opposite hip anchored. Maintain lift through the standing arch.
- Return & Switch
- Bring the leg back to center, bend the knee, release the foot, and lower with control. Repeat on the second side.
Duration: Begin with 15–30 seconds per side; over time build to 45–60 seconds with smooth breath.
Alignment Keys (Quick Cues)
- Foot → Hip Line: Track the standing knee over second toe; lift inner arch.
- Pelvis Neutral: Resist the tendency to hike the hip of the lifted leg; keep the sacrum broad.
- Spine Tall: Avoid leaning back to “win” the straight leg—prioritize length and integrity over range.
- Shoulders Soft: Elbows slightly bent; collarbones wide.
- Work the Heel: Dorsiflex the lifted foot (toes back, heel forward) to engage hamstrings safely.
Benefits
Physical
- Improves Balance & Proprioception: Trains ankle, knee, and hip stability on the standing side.
- Deep Hamstring Stretch: Safely lengthens the posterior chain of the lifted leg.
- Hip Mobility: Encourages flexion (front extension) and, in the side variation, gentle abduction/external rotation.
- Core & Spinal Control: Upright torso builds deep core engagement and postural endurance.
- Ankle/Foot Strength: Stabilizers of the foot and lower leg refine during single-leg balance.
Mental & Energetic
- Concentration & Calm: Steady drishti and breath cultivate focused attention.
- Confidence & Poise: Mastering the pose builds equanimity under challenge.
- Pranic Flow: In yogic mapping, balances Muladhara (root) through grounding and awakens Ajna (focus) via directed gaze.
Contraindications & Safety
- Avoid during acute hamstring strain, severe ankle or knee injury, or sciatica flare-ups.
- For lower-back sensitivity, keep a micro-bend in the lifted knee and avoid rounding.
- Pregnant practitioners or those with balance concerns should practice near a wall or use a chair/strap.
General rule: Pain ≠ gain. Choose a variation that lets you breathe smoothly without wobbling.
Modifications & Props
- Strap Loop: Place a strap around the lifted foot for reach; keep elbows close and spine tall.
- Bent-Knee Version: Keep the lifted knee bent; prioritize pelvic neutrality and balance.
- Wall Assist: Stand beside a wall; light fingertip support with the free hand can help refine alignment.
- Side Variation with Strap: For Utthita Hasta Padangusthasana B, maintain strap and open the leg only as far as the pelvis stays level.
Common Mistakes & Fixes
- Hip Hiking: Drop the outer hip of the lifted leg; imagine heavy sandbags on that hip.
- Locked Standing Knee: Soften to engage quadriceps and protect the joint.
- Leaning Back: Stack ribs over pelvis; think “sternum up, tail down.”
- Toe Death-Grip: If shoulders creep up, switch to a strap to free the neck.
Drishti & Breath
- Drishti: Parsva/Forward gaze at a fixed point, or Nasagra (tip of nose) once steady.
- Breath: Inhale to lengthen spine; exhale to deepen hamstring action without collapsing. Keep even, nasal breathing.
Sequencing: Prep & Counterposes
Good Preparations:
- Gentle hamstring openers like Supta Padangusthasana (reclined version with strap), Adho Mukha Svanasana (Down Dog).
- Hip mobilizers: Virasana (/virasana-hero-pose/), Gomukhasana arm/leg preps (gomukhasana-cow-face-pose).
- Balance warm-ups: Tadasana to Vrksasana (Tree).
Counterposes:
- Tadasana reset, Uttanasana (soft forward fold), light ankle circles.
- A gentle backbend like Bhujangasana after longer hamstring work.
Who Should Practice & How Often
- Ideal for intermediate practitioners seeking stronger balance and hamstring length.
- Practice 3–5 rounds per side, 3–4 days per week. Consistency builds steadiness more than forcing range.
Chakras & Subtle Effects
- Muladhara (Root): Grounding through the standing foot.
- Ajna (Third Eye): Steady gaze refines mental focus.
- Manipura (Solar Plexus): Core engagement builds willpower and stability.
FAQs (quick)
Q: My hamstrings limit me—should I bend the knee?
Yes. Keep a slight bend or use a strap. Maintain pelvic neutrality and balance; straightening can come later.
Q: Is the side-opening version necessary?
No. Practice the front extension first. Add the side variation once you can keep the pelvis level and breath steady.


